This site hosts an extensive, completely free online course in rope bondage (also known as Shibari or Kinbaku). Use of restraints is one of the most common sexual fantasies, but tying someone with rope in a way that is safe, comfortable, and effective requires specific training, even for those who already know a lot about knots. Most depictions in popular media get it wrong, and even many educational books and websites show techniques that are incomplete or unsafe.
The goal of Crash Restraint is to cut through the confusion and misinformation to provide the most accurate, up-to-date material available, in a format that is easy to master. Years of teaching experience have shown that clear, step-by-step videos are the most effective way to learn rope; in some cases even better than in-person instruction.

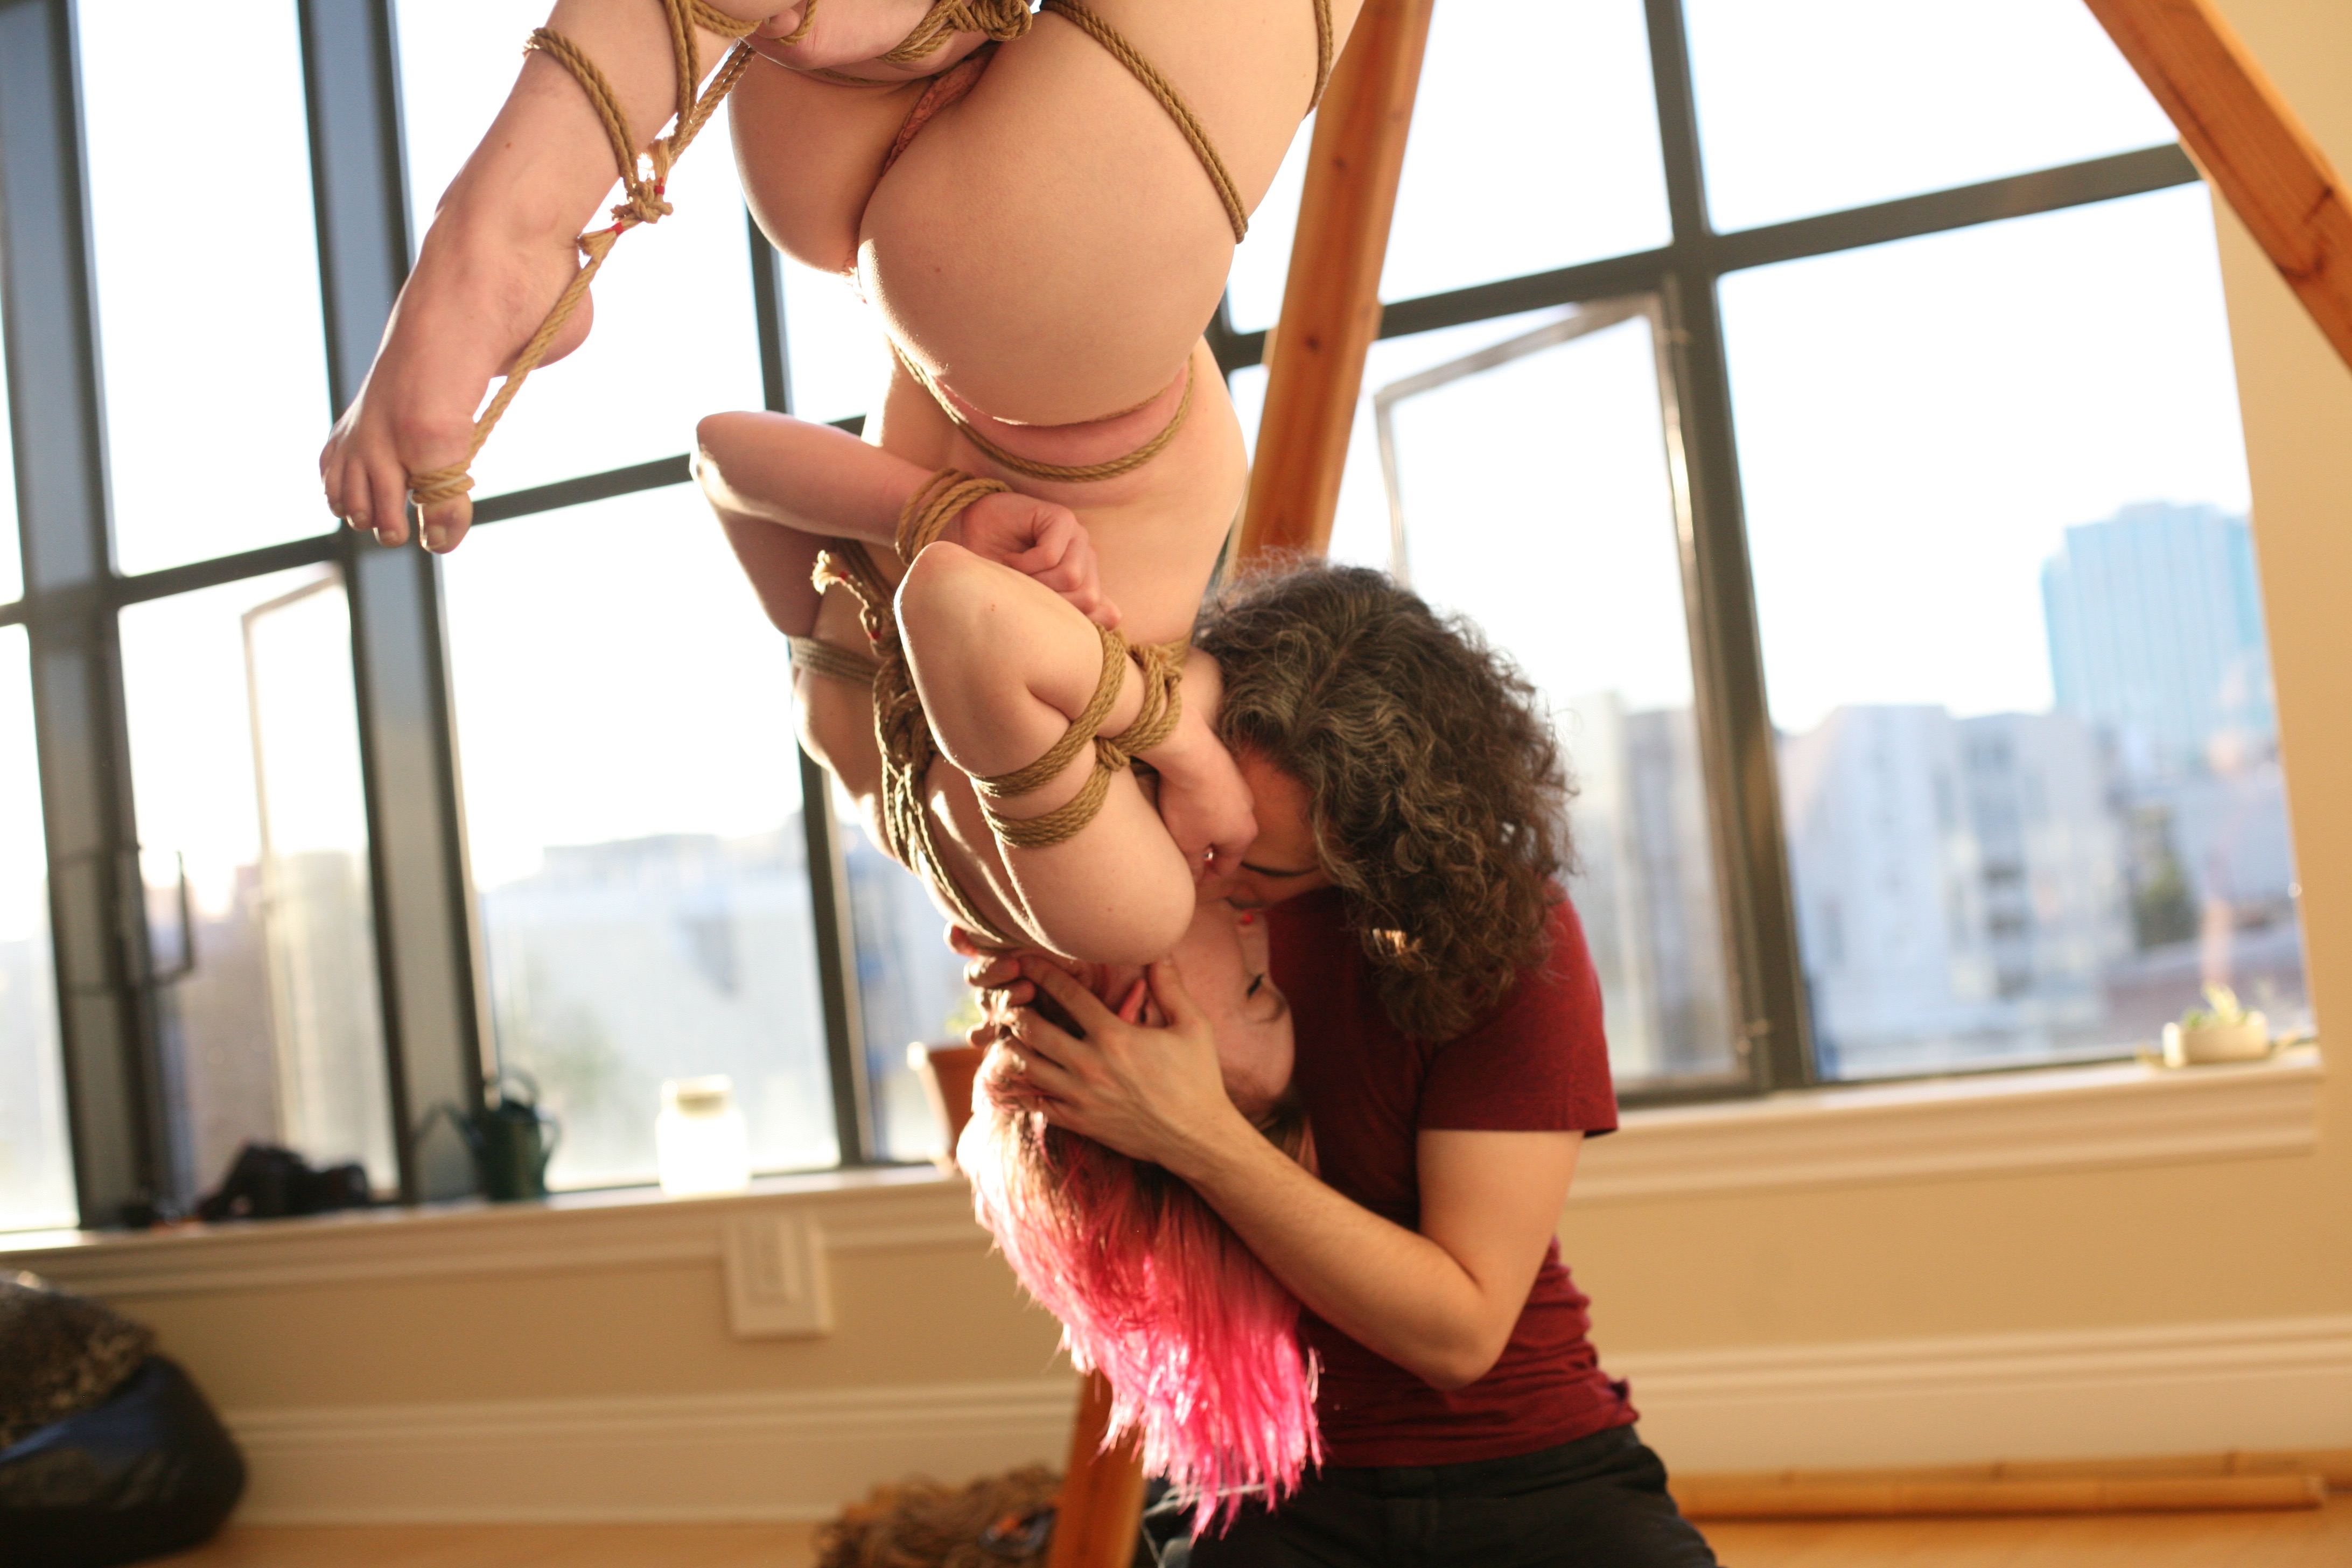
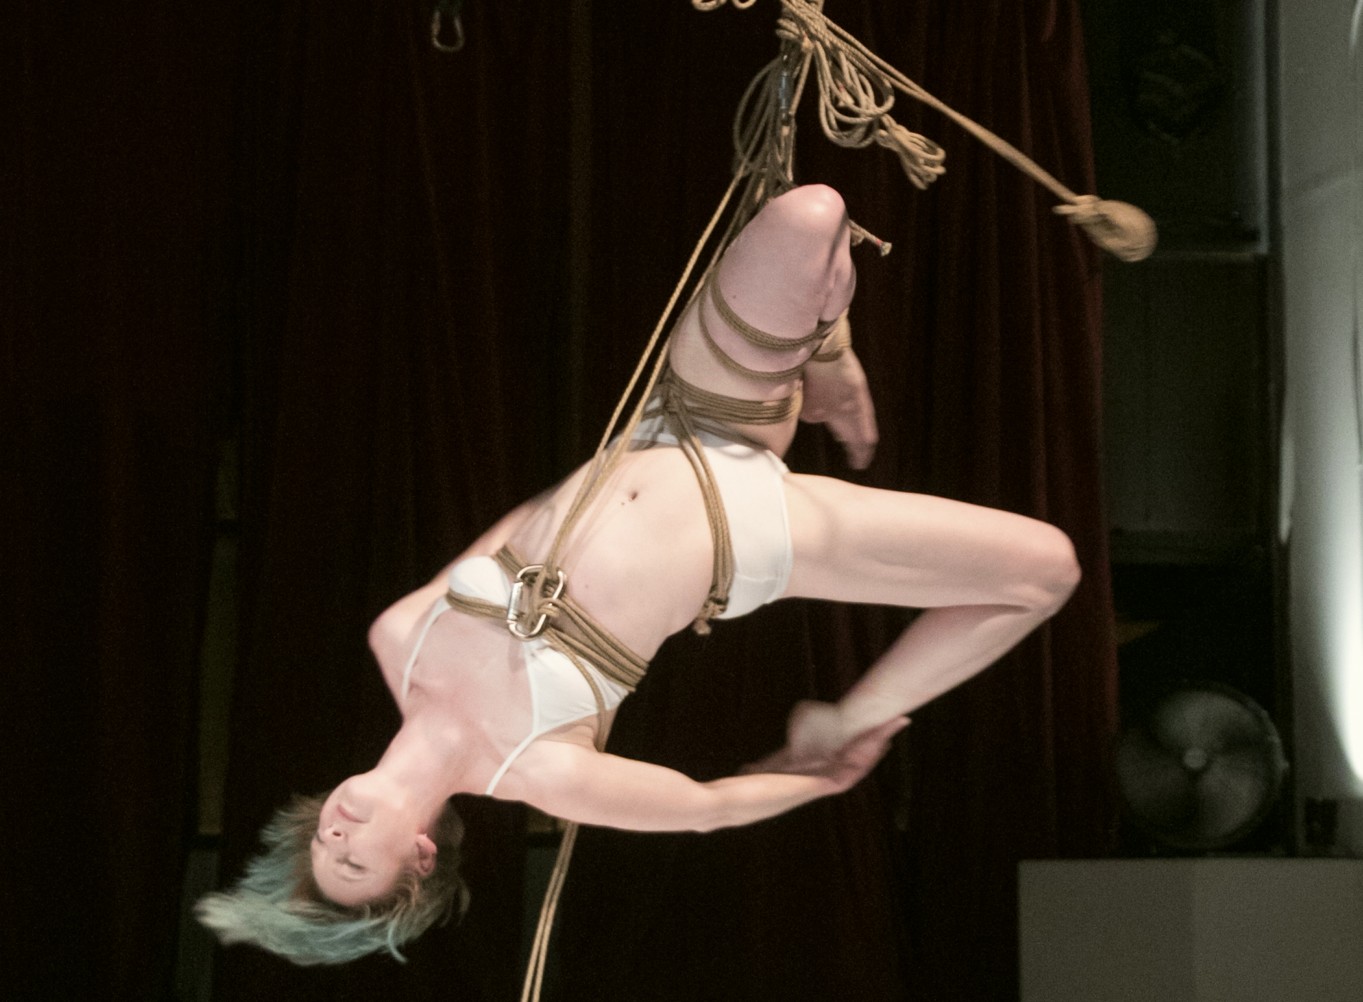
Thousands of people from all over the world have used Crash Restraint to begin or assist their journey with rope. Whether you want to do highly technical aerial suspensions, or just tie your partner’s wrists to a bed frame, we’ve got you covered.